How to make a floor lighting in the apartment with their own hands
Floor lighting in the apartment - an original design technique that makes the room unusual and at the same time serves as lighting that allows you to move safely at night. It can be made with your own hands, if you follow the simple recommendations.
Requirements for floor lighting
Regardless of the method of installation and the light sources used, the lighting must meet several requirements:
- Protection class At least IP65. Even for dry rooms, you should choose moisture-resistant equipment, because when installed on the floor, it can accidentally get wet.
- Luminaires should have a shockproof housing that can withstand the fall of a not very heavy object, kicking and other such impacts. You should not use fragile models.
- The bulbs should not be heated during operation, as this creates a fire risk and can cause deformation or discoloration of the finish.
- The light should be diffused so as not to create discomfort for the eyes.
- Consider the power consumption of the equipment: the lower the figure - the better.
You can use special fixtures, or you can adapt universal equipment, if you follow the tips from this article.
Choice of fixtures for floor illumination
There are several options, but floor lighting in the apartment is done using two types:
- Spot lights.. This type is suitable only where it is possible to build the equipment into the floor or the lower part of the walls. Halogen lamps used to be used, but now they are almost not used, as they strongly heat up and do not last very long. LED models are much better, as they heat much less, give good light and have a working life of 20 times more than the first type.
- LED strip - The most convenient solution today, it is easy to install. You should use moisture-protected versions that can withstand even direct water ingress. The tape can be placed in different ways, it all depends on the room and the specifics of installation. It can be glued to the bottom of the furniture, which is very convenient. It consumes little electricity and lasts a long time.
Where in the apartment can make lighting
Floor lighting can be used in different rooms, depending on the location it performs different functions. Here you need to remember the following:
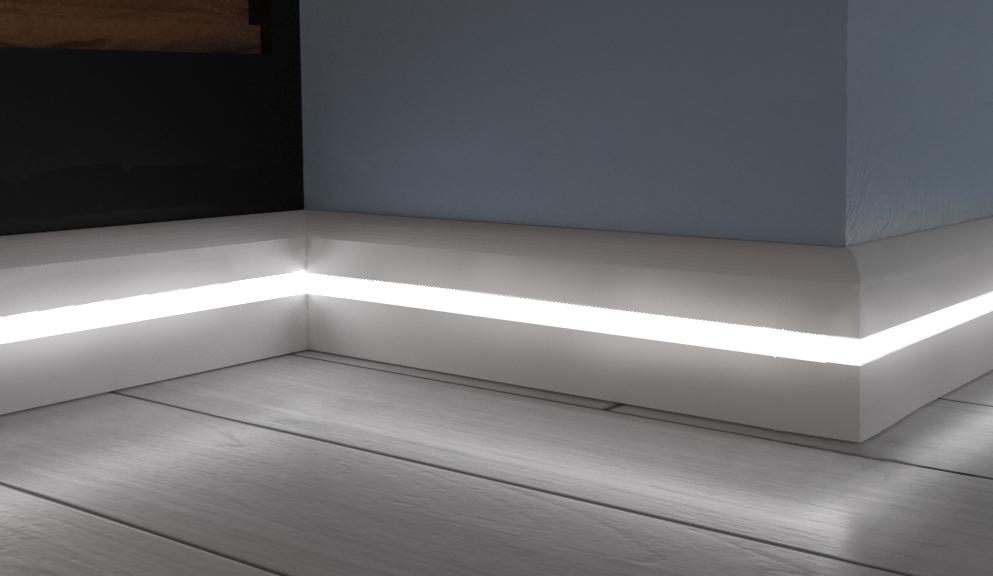
- The use of floor lighting in the hallway makes it much more attractive, visually expands the narrow space and looks original. This solution in the hallway will be appreciated by all guests. In addition, it will ensure the safety of movement even without turning on the light at night.
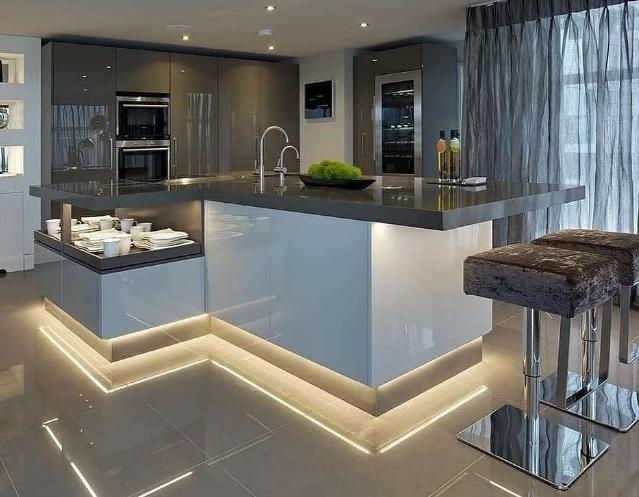
- In kitchens, the LED strip is most often glued to the bottom of the kitchen set. This makes it stand out and makes the ambiance more modern. You can also use perimeter lighting, it is more suitable for large kitchens.
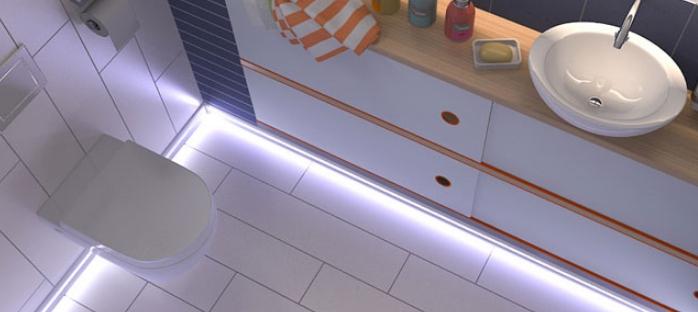
- In the bathroom and bathroom, many people use such lighting to visually enlarge the room. The main thing is to use moisture-resistant materials.
![How to make your own hands floor lighting in the apartment]() In bathrooms and toilets, such lighting looks great.
In bathrooms and toilets, such lighting looks great. - In a child's room, soft lighting can be used as a nightlight if the child is afraid to sleep in the dark. It is good because it does not interfere with sleep and allows your child to move around safely if he has to get up at night.
- For the living room, this can be a great decorative option, which looks especially spectacular in the semi-darkness. Here you can use both baseboard lighting and the option of attaching an LED strip to the bottom of the furniture.
Underfloor lighting is more suitable for modern interiors.
How to make floor illumination, the main options for designs
First of all, you need to choose a suitable method of installation, it depends on this, what you will have to buy and how to organize the work. The main options are several:
- Spot lights mounted in the wall along the floor surface. This solution is suitable for apartments where the walls are lined with plasterboard. In this case, when installing the slabs, you need to lay the wiring in advance and make holes to the diameter of the lights. The light is distributed along the surface, which allows you to illuminate it well, such a solution is suitable for stairsIf the apartment has two levels.
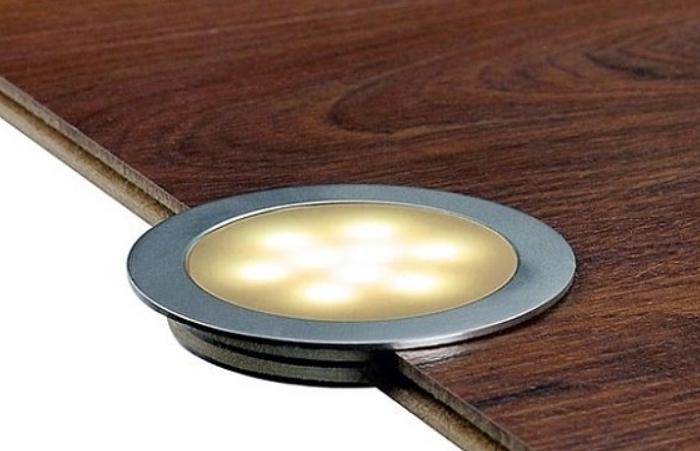
- Light in the floor using spot lighting can be arranged only if the design is made on wooden planks. In this case, you cut holes in the floorboard and install fixtures, but here it is important to lay the wiring in advance, so that then you do not have to raise the floor. The light should be muted and diffused, most often use models with frosted glass.
![How to make underfloor heating in the apartment with their own hands]() If the floor is laminate, you can cut the diffuser into it.
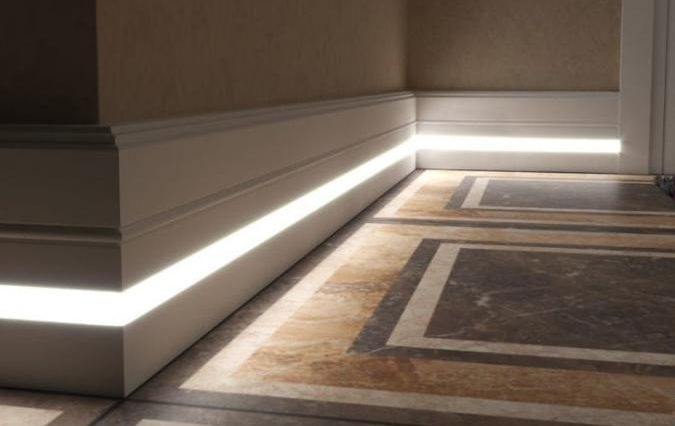
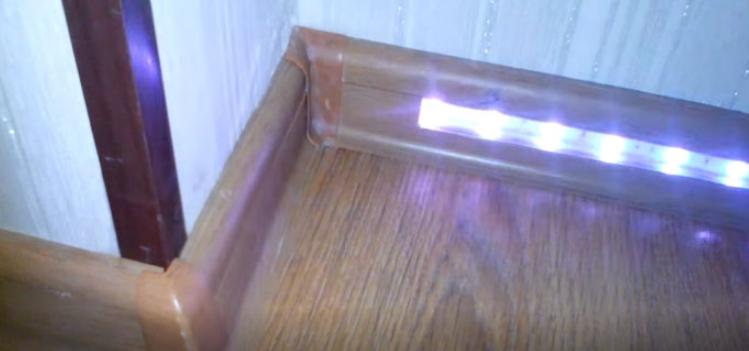
If the floor is laminate, you can cut the diffuser into it. - LED strip in the baseboard. A good solution that will provide uniform illumination and allow a good effect. But most importantly. You don't have to drill holes in the floor and walls and lay the wiring in advance.
Mounting the lighting in the plinth
In this case it is possible to use two options - a standard plinth with a cable channel or a special version of aluminum, which is originally designed for LED strip. Step by step installation process looks like this:
- Buy a skirting board in the required quantity. It is best to choose options in which, instead of the usual plug, they sell an insert of frosted plastic, which serves as a diffuser. If you can not find one, you can get out of the situation by buying translucent plastic in any advertising firm and cut it into strips of suitable width.
- The plinth is attached to the walls as usual, you do not need to put stoppers. Next, you need to measure and cut the LED strip into pieces of appropriate size. Cut can only be done along the marked lines.
- If plastic skirting boards are used, Do not use a strip with a wattage of more than 14 watts per linear metre.as it will overheat. There are no restrictions for the aluminium version.
- It is best to solderThis is more reliable than using a connector. The wire should be selected according to the capacity of the equipment, the best solution is a flexible copper cable.
- Tape tapes are glued Inside the cavity, if the adhesive layer on it is not reliable, you can additionally use double-sided adhesive tape. Some people glue aluminum tape inside the cavity to improve heat dissipation.
![The plug should be put on only after checking]() It is worth putting on the cover only after testing the tape.
It is worth putting on the cover only after testing the tape. - Once the tape is installed and wires are routed, they are connected to the power supply. It is necessary to find a place for it in advance, most often a cabinet or a shelf is used, so that the element is not in sight. Nearby there should be a socket.
- After check The system can be installed diffusers, they simply snap neatly into the grooves.
To improve the heat dissipation of the LED strip, you can cut a strip of aluminum to the size of the recess of the baseboard and glue it to the sealant.
In the conclusion of the video: Baseboard illumination with their own hands.
It is not difficult to make the floor illumination yourself, if you use quality equipment and follow the instructions. It will take a little time, but the result will be excellent. The main thing is to use safe equipment that does not get hot when working.