How to Cut LED Tape
This article tells you how to properly cut the LED strip. Depending on the voltage, variety, model of the luminous strip may require its own way of cutting. Special markings and tags will help, but even unmarked tape can be easily cut into pieces of the right size.
Why it's needed
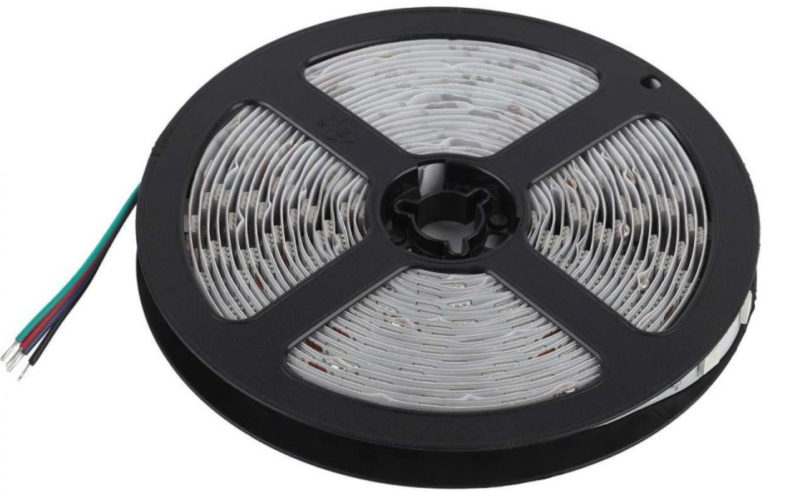
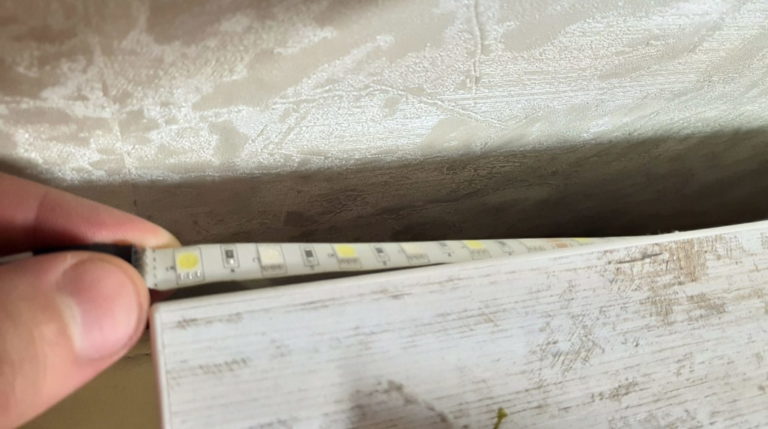
Often, LED strands are sold in stores in large rolls (from 5 meters), and when buying there is a need to cut off some part. Depending on the room in which you will install the LED-tape, you may need segments of different lengths. Therefore, individual pieces of the right size are cut from the roll so that both sides can be supplied with electricity.
Where to cut the roll?
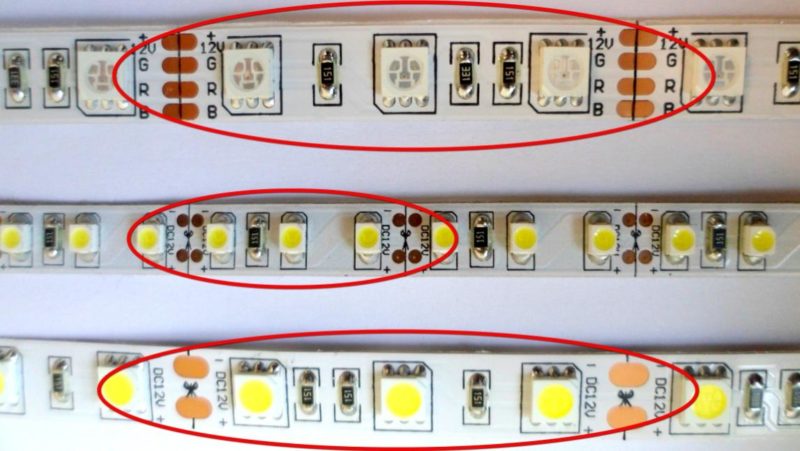
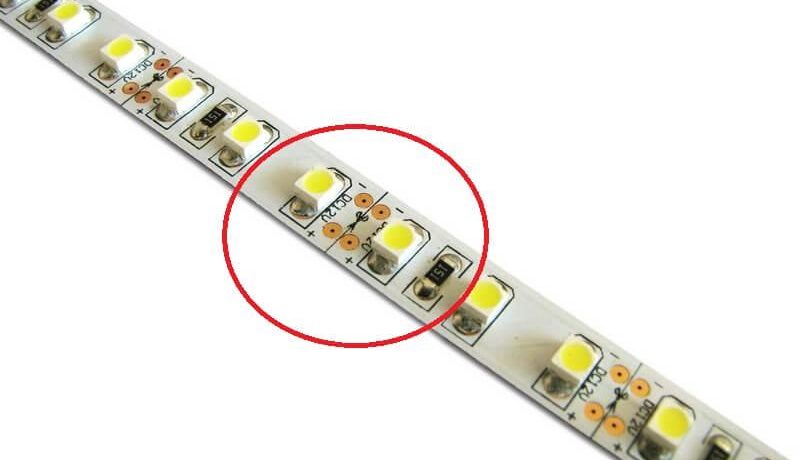
Before you start cutting the LED strip is important to understand: the luminous filament can be shortened only along the specially marked lines - conductive strips. Structurally, they are made so that they are between the contact pads of diodes. Consequently, there is no danger of damaging the LED strip. Cutting in the wrong place is almost guaranteed to destroy some of the diodes. If the strip is plugged in, it can even short-circuit or burn out the power supply. There are 2 conductive strips along the low and high voltage strips and 4 along the RGB strips.
What are the steps of the cuts?
Different models of tapes have a different number of LEDs per meter. They can be from 30 to 240. Standard 12-volt LED strip is cut in increments of 3 LEDs, 24-volt - with increments of 6 LEDs. For a luminous filament with a voltage of 220 V, the range of steps of the cut varies from 0.5 to 2 m. This depends on the brand of manufacturer.
In metric terms, the pitch of the cut will be:
- for 30 diodes - 10 cm;
- for 60 diodes - 5 cm;
- for 120 diodes - 2.5 cm;
- 240 diodes - 1.5 cm.
How the LED strip is cut
Now about how to properly cut LED strips of different voltages and types.
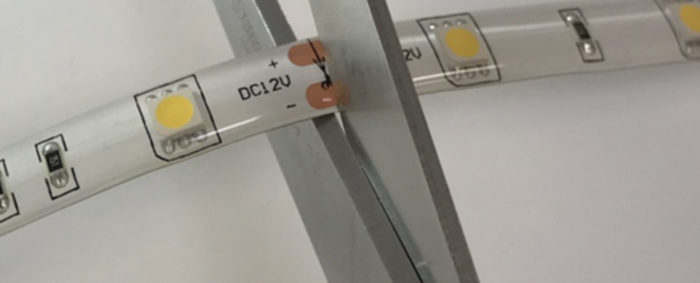
12 volts.
On a 12 volt LED string between each group of 3 bulbs, the cutting lines are marked.
Such a strip has a thin coating that allows you to use a regular office knife or scissors. The main thing is the accuracy of the work. The tape is cut strictly along the dotted lines, otherwise some of the diodes will fail, and such a luminous device will remain only to throw out.
220 volts
High-voltage filament has a more durable coating, which will require sharp scissors. The 220 volt strip may use 5 different brands of LEDs, chips of different models, but the cutting technique for all types of LED strips will be the same. It is necessary to cut with scissors along the dotted line of the contact pad.
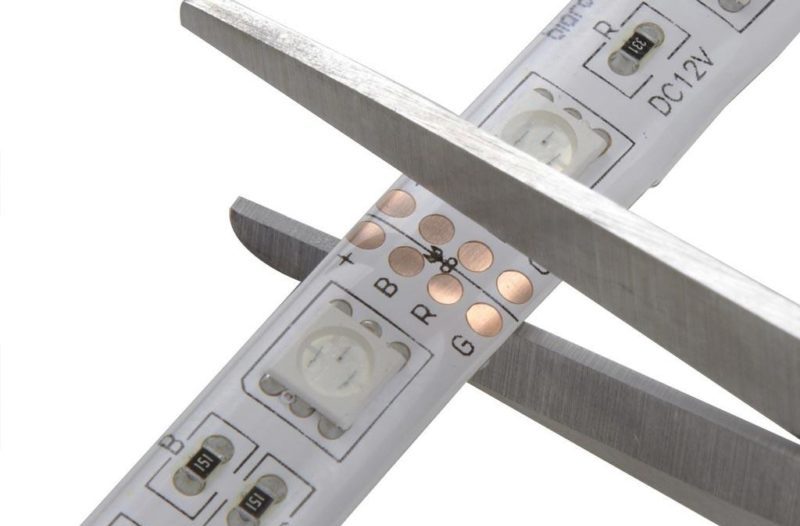
Colored RGB strip
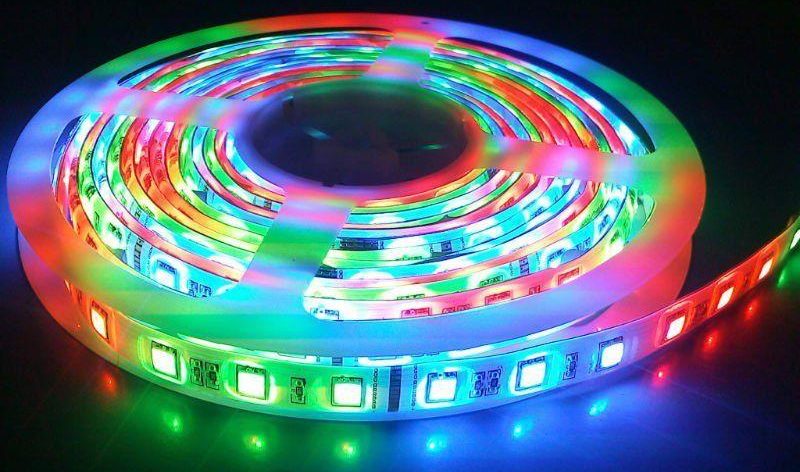
The RGB LED strip is arranged in the same way as a standard strip. The only significant difference is 4 conductive strips instead of 2. On the standard low or high voltage strip they are marked with + and - signs, and on the RGB strip they are marked with R, G, B, - symbols. The cutting procedure is the same: with scissors along the strictly marked lines. There is also a LED filament RGBW of 5 conductive strips and bulbs of different colors:
- white;
- red;
- blue;
- green.
Important. To leave only the colors of LEDs that you need, pay attention to which contact pad the color channel is connected to.
Tape with waterproofing
LED filaments with increased protection against water come in two types:
- silicone-coated;
- placed in a silicone tube.
For the first type (with IP54 protection class), the cutting procedure is no different from the same procedure with the standard tape. They are structurally identical, so they are cut using the same methods. The problem is that the silicone coating may interfere with making the cut exactly in the middle of the contact pad. It is best to use a sharp knife instead of scissors.

The LED strip with waterproofing, placed in a silicone tube (protection class IP68), is cut like this:
- Cut the silicone coating in the desired location with a sharp office knife.
- The tape itself can be cut both with a knife and scissors.
- Both ends of the resulting trim should be carefully trimmed with a knife for subsequent connection of the connector or soldering.
Topical video:
Cutting during installation
Sometimes during the installation of LED filament can inadvertently damage it. After all, this thing is quite fragile, and bend it sometimes have to do a lot. Fortunately, this is not a "death sentence" LED-tape, such malfunctions are easily fixed. It is necessary to cut off the part that failed and measure its exact length. Then a new piece of strip is taken and installed in place of the old one with a connector. It is best to use a soldering iron to join the two pieces together. If the solder is highly visible, this section (or the entire strip at once) can be insulated.
Tip. To LED strip does not fail during installation, it is not necessary to bend it to a radius greater than 5 cm, wrap it around objects, weave shapes, knots.
No marking: how to cut such a strip
Sometimes you can find LED strips on the shelves without marking the conductive strips with dotted lines, symbols, letters and other labels. It is best to refrain from buying them. It's not just the lack of cues. Such a device is likely to be of low quality.
If you still have to come across an LED strip without labeling, you should not despair. A reliable reference point will be the contact pad. It breaks the visual "slenderness" of the filament and looks like an extension.
It is in the middle of this area that you need to cut. Again, in most LED strips the place for the cut is located every 3 diodes - you can confidently navigate to this as well.