Ways to connect LED strips with each other
Sometimes the length of the LED-tape does not meet the intended objectives, and we have to puzzle: how to make it longer? The answer is extremely simple: connect several individual pieces of LED strip together to the desired size. This can be done with your own hands as an ordinary soldering iron with rosin, and with the help of special connectors. The article introduces the advantages of each method of docking pieces of luminous filament, their algorithms.
When it may be necessary
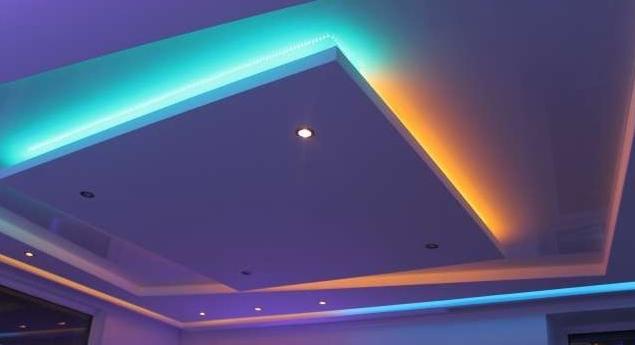
The reason for joining LED strip fragments is usually the same. Usually, lighting strips are sold in skeins of up to 5 m, and this length is not always enough for all areas of the premises. For example, you want to wrap the tape around the ceiling around the perimeter for beauty. Will 5 meters be enough? Of course not. The same applies to the decor of the facades of stores, banks, beauty salons. So that the LED strands have to lengthen by connecting the individual fragments.
The main ways of joining the pieces of LED filament
The LED-tape is connected in two ways: by soldering and by using connectors. Which one to choose depends on the end goal. If you need a guaranteed strong connection for years, it's better to use soldering. Connectors also connect the fragments well, but this method is simpler and faster.
Now about the main pros and cons of each method of connecting the LED filament fragments together. Information is given in the form of tables.
Soldering method
| Pros | Cons |
| The ribbon can have any desired turns and bends | If you are not experienced or confident, it is better not to undertake |
| High tensile strength | Heated soldering iron is a big hazard for the tapes |
| Contacts won't oxidize | |
| No need to deal with boards | |
| If you have a soldering iron, rosin, duct tape, no need to spend money | |
| No eye-catching junction |
Connected by means of connectors
| Pros of | Cons |
| Connectors are easy to put on and take off | High humidity is the enemy of connectors |
| There are many kinds of connectors for different purposes | Contacts can quickly oxidize |
| It is possible to give the LED strip any curves and shapes | If you buy a poor quality connector, the strip may simply not turn on |
| No additional insulation is needed | The junction of the pieces will be noticeable |
| Cost effective at a reasonable price | |
| No special skills required for installation |
Solder the connection
There are two ways to solder the pieces of luminous tape together - wirelessly and by wire.
Without wires
The first method involves wireless docking of LED thread fragments with each other. It is done according to the following algorithm:
- Prepare a soldering iron. It is good if it regulates the temperature mode. The required temperature - up to 350 ° C. If there is no control option, you must make sure that the soldering iron does not get hotter than the specified temperature, or you could cause irreparable damage to the tape.
- It is best to use thin solder with rosin. When getting ready to work, the tip (sting) of the soldering iron should be cleaned of any residues of old rosin, microelements with a metal brush. After that, wipe the sting area with a damp sponge.
- To LED filament is not fidgeting back and forth during the manipulation, it is fixed on a firm flat surface with a firm adhesive tape.
- The ends of both pieces of tape should be well deburred, removing the interfering silicone coating. All contacts must be thoroughly cleaned from it, otherwise it will be difficult or impossible to solder the two pieces. It is best to use a sharp office knife to clean and remove the silicone coating.
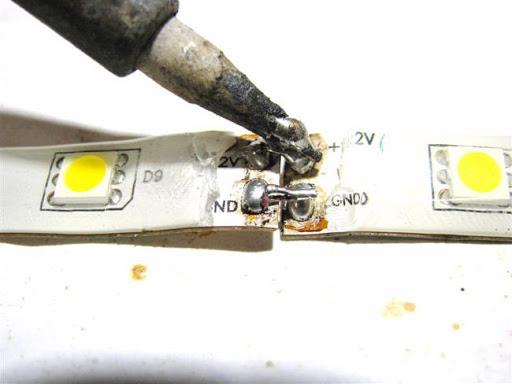
- Carefully tin the contacts on both pieces with a thin layer of solder.
- It is better to join the pieces overlapping, slightly overlapping.
Important! Be sure to make sure that the plus goes to the plus, the minus to the minus.
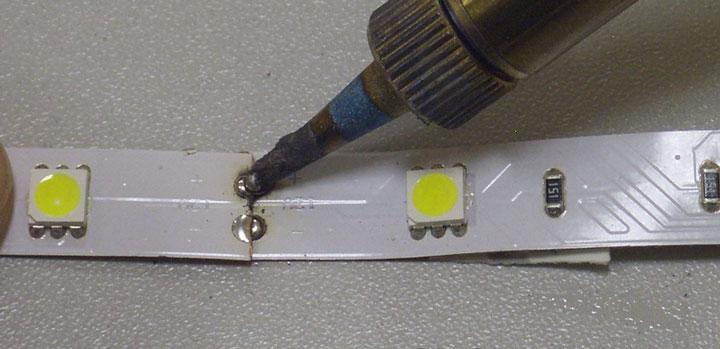
- Solder all the joints reliably until the solder is completely melted, and then leave the tape to dry.
- When the joined pieces have dried, you can try plugging the string in. If everything was done correctly, each LED on the two pieces will burn. Lack of light, sparks, smoke - all this indicates errors in soldering.
- If the strip works well, the joint sections are safely insulated.
Video lesson on soldering the ribbon
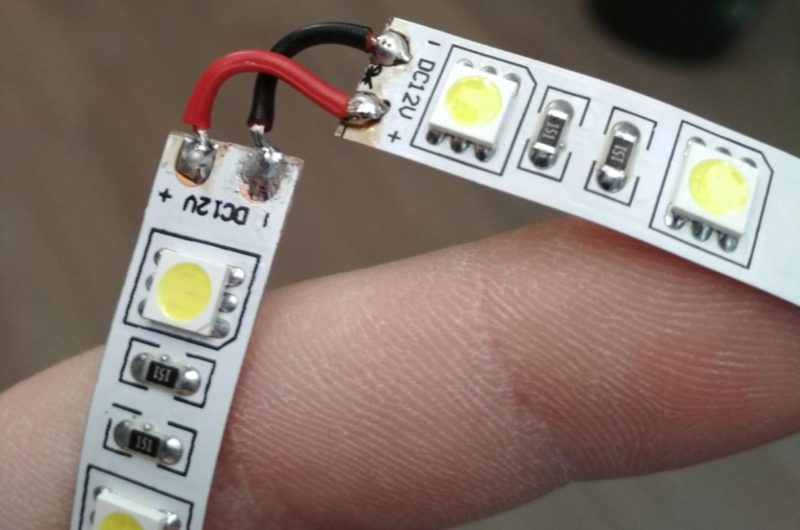
With a wire.
For the second method, the first 4 steps will be the same. Next, you will need wire. A copper wire with a diameter of 0.8 mm will do well, the main thing is to match the cross-section. The minimum length is 1 cm, but longer is better.
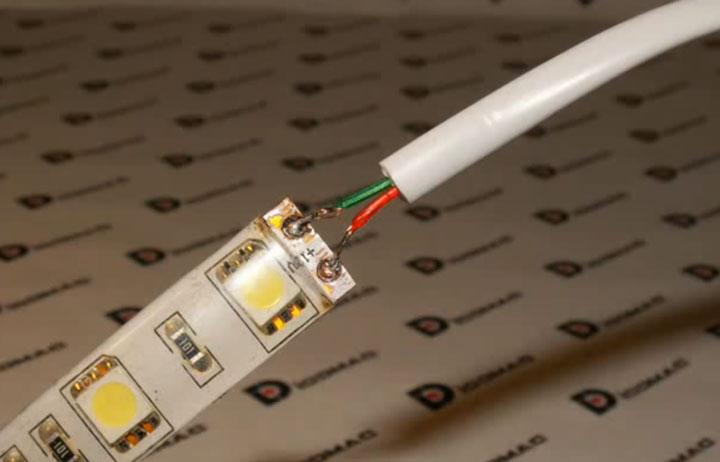
- Remove the coating from the wire, tin the ends.
- The contacts on the pieces of tape match in pairs, and each end of the connecting wire is soldered to a pair of contacts. To do this, the wires are bent at an angle of 90°, and in this form are soldered to the contacts of the LED-tape.
- When everything is dry, the device can be plugged in and check if everything is properly done.
- It is not necessary to remove rosin from the soldered areas when the work is done, but if you have to, it is better to use alcohol for this purpose.
- The wires should be well insulated and, for better protection, a heat shrink tube should be put on them.
Now the elongated LED strip can be bent in any way and installed in many different directions.
Connecting by means of connectors
For a faster and more accessible way to connect the two fragments of LED-string using special connectors - connectors. They are a small plastic block with a latch and contact pads.
What they are
Depending on the task, different types of connectors are used:
- With a bend. Such devices help to combine the fragments of thread in any desired directions, let them run at different angles and parallel.
- Without bending. They are suitable only for a straight connection.
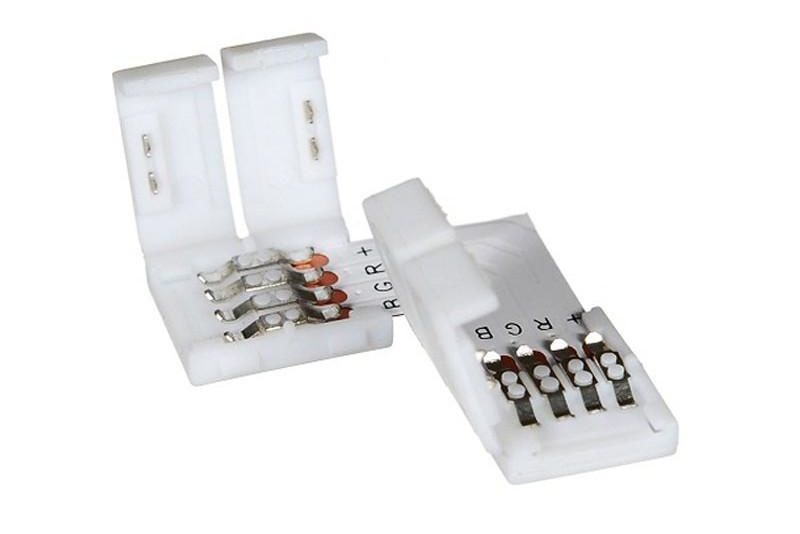
- Angular. As the name suggests, their purpose is to join the fragments at right angles.
Step by step instructions for switching
All that is required for such an operation - sharp scissors. The algorithm is as follows:
- Cut Two pieces of tape of the desired length. The number of LEDs on each of them must be a multiple of 3.
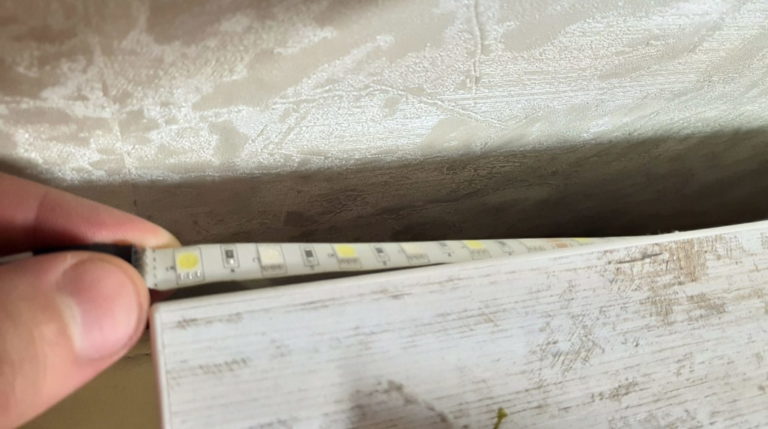
- If there is a protective silicone coating, use a stationery knife to clean it off so that the way to the contacts is open.
- Open the cover of the connector and place one end inside it. The contacts should fit snugly on the contact pad.
- The cover is snapped on and the same manipulation is done with the end of the second lead of the LED strand.
- When connecting the wires through the connector, it is necessary to make sure that the polarity is correct so that you do not have to do it all over again.
- The final step is to connect to the mains and check the operation of the assembled ribbon.
To dock 3 or more fragments of the LED strip is to use the connector RGB-type. He, in contrast to the standard connectors does not have 2 contact pads, and 4 - 2 on each side. Between the two ends of the connector runs a 4-wire bus of wires of different colors, it can be bent if necessary.
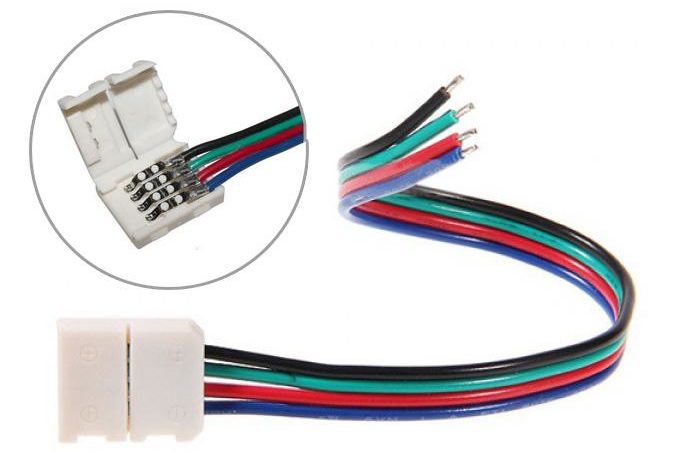
In addition, you can use a quick connector with two wires to connect the pieces of single-color LED strip. It is necessary to turn it so that the wide white stripe is on top, each end of the filament inserted into the appropriate connector. It is important to make sure that the polarity is correct. After fixing and snapping the box securely, you can start testing the LED strip.
We fix the information from the video: